Introduction
Want to give your phone case a unique and personal touch? With a Cricut machine, you can easily create a custom design that reflects your style. Whether you prefer bold patterns, cute illustrations, or inspirational quotes, this step-by-step guide will show you how to customize your phone case using vinyl.
Supplies Needed
• Cricut machine (Cricut Joy Xtra, Explore, or Maker)
• Cricut Design Space
• Permanent adhesive vinyl
• StandardGrip cutting mat
• Weeding tool
• Transfer tape
• Clear or solid phone case
• Scraper tool
Step 1: Create Your Design
Open Cricut Design Space and either create a custom design or choose a pre-made one. Adjust the size to fit your phone case.
Step 2: Cut the Vinyl
Place the vinyl on the StandardGrip cutting mat and load it into your Cricut machine. Follow the on-screen instructions to cut your design.
Step 3: Apply the Vinyl
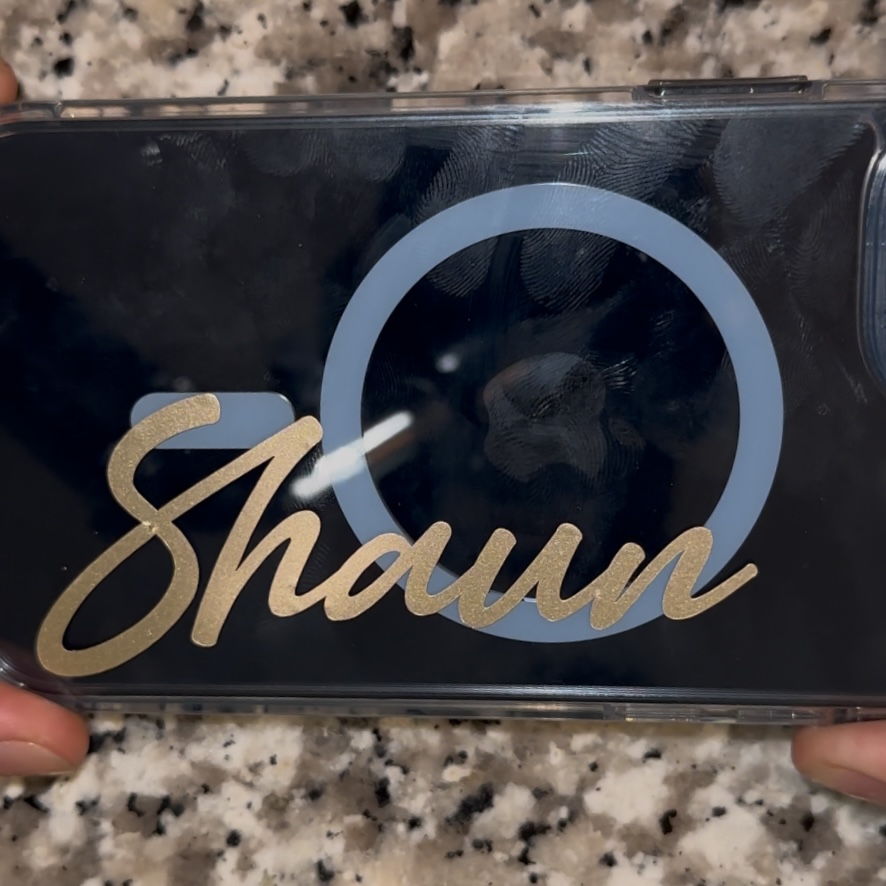
Weed out any excess vinyl using a weeding tool. Then, place transfer tape over the design and use a scraper to press it down firmly. Carefully peel off the backing and apply the design to your phone case, smoothing out any bubbles.
Conclusion
That’s it! You now have a custom phone case that’s stylish and uniquely yours. Experiment with different colors and patterns to match your mood or outfit. Enjoy your one-of-a-kind creation!
Leave a Reply