Welcome to this step-by-step tutorial on creating a custom calendar with your Cricut! Whether you’re a beginner or a seasoned crafter, this project is perfect for adding a personal touch to your desk or gifting something unique. In this tutorial, I’ll walk you through everything you need, from preparing your design to assembling your final masterpiece. Let’s dive into it!
What You’ll Need
- Cricut machine
- Cardstock
- Cricut Design Space app
- Additional tools like a weeder or scraper
- Printer
Step-by-Step Guide
1. Prepare Your Design
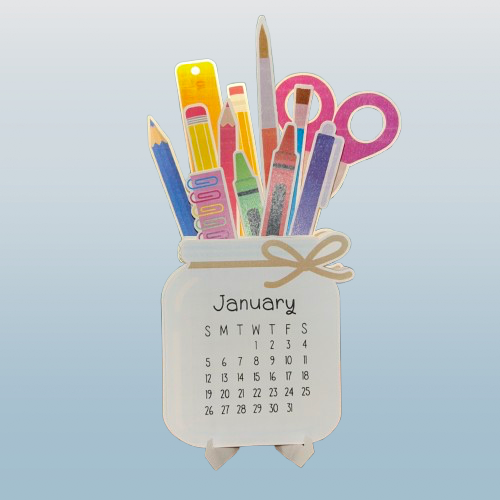
Open Cricut Design Space and select or customize your design. Choose a pattern or text suitable for the project. I used https://design-beta.cricut.com/landing/project-detail/66b57aa9e75bc5edb00d3147 by Vanessa from DIY Craft Tutorials.
2. Print the Paper
Follow the prompts in Design Space and print the design.
3. Cutting the Design
The Cricut will scan and cut the paper according to the marks on the paper.
4. Assemble the Project
Fold the stand, and place the months in order. Use the video for further instructions.
And there you have it—your custom Cricut calendar, ready to showcase all year long! This project is a fantastic way to combine creativity and functionality, and I hope you had as much fun making it as I did sharing the process with you. Don’t forget to share your creations in the comments or tag me on social media. Until next time, happy crafting!
Leave a Reply