Turn artificial intelligence into your personal money-making machine with these proven strategies and tools
The AI revolution isn’t coming—it’s already here. With over 52% of U.S. adults now using AI tools like ChatGPT and Gemini, artificial intelligence has become one of the fastest-adopted technologies in history. More importantly, savvy entrepreneurs are already earning significant income by leveraging these powerful tools.
Whether you’re looking to replace your 9-to-5 or create a profitable side hustle, AI offers unprecedented opportunities to generate income with minimal upfront investment. The best part? You don’t need technical expertise to get started.
This comprehensive guide reveals the most profitable AI-powered income streams for 2025, complete with step-by-step instructions, recommended tools, and real earning potential. Let’s dive into how you can transform your financial future using artificial intelligence.
Why AI is the Ultimate Money-Making Opportunity
The numbers don’t lie. 61% of buyers are willing to pay extra for AI-enhanced products and services, while the global AI market is projected to reach $1.5 trillion by 2030. This massive growth creates endless opportunities for individuals to capitalize on AI’s capabilities.
Here’s why AI represents the perfect storm for making money:
- Low barrier to entry: Most AI tools cost less than $50/month to access
- Scalable income potential: Automate tasks and serve multiple clients simultaneously
- High demand: Businesses desperately need AI solutions but lack expertise
- Future-proof skills: AI literacy will become as essential as computer literacy
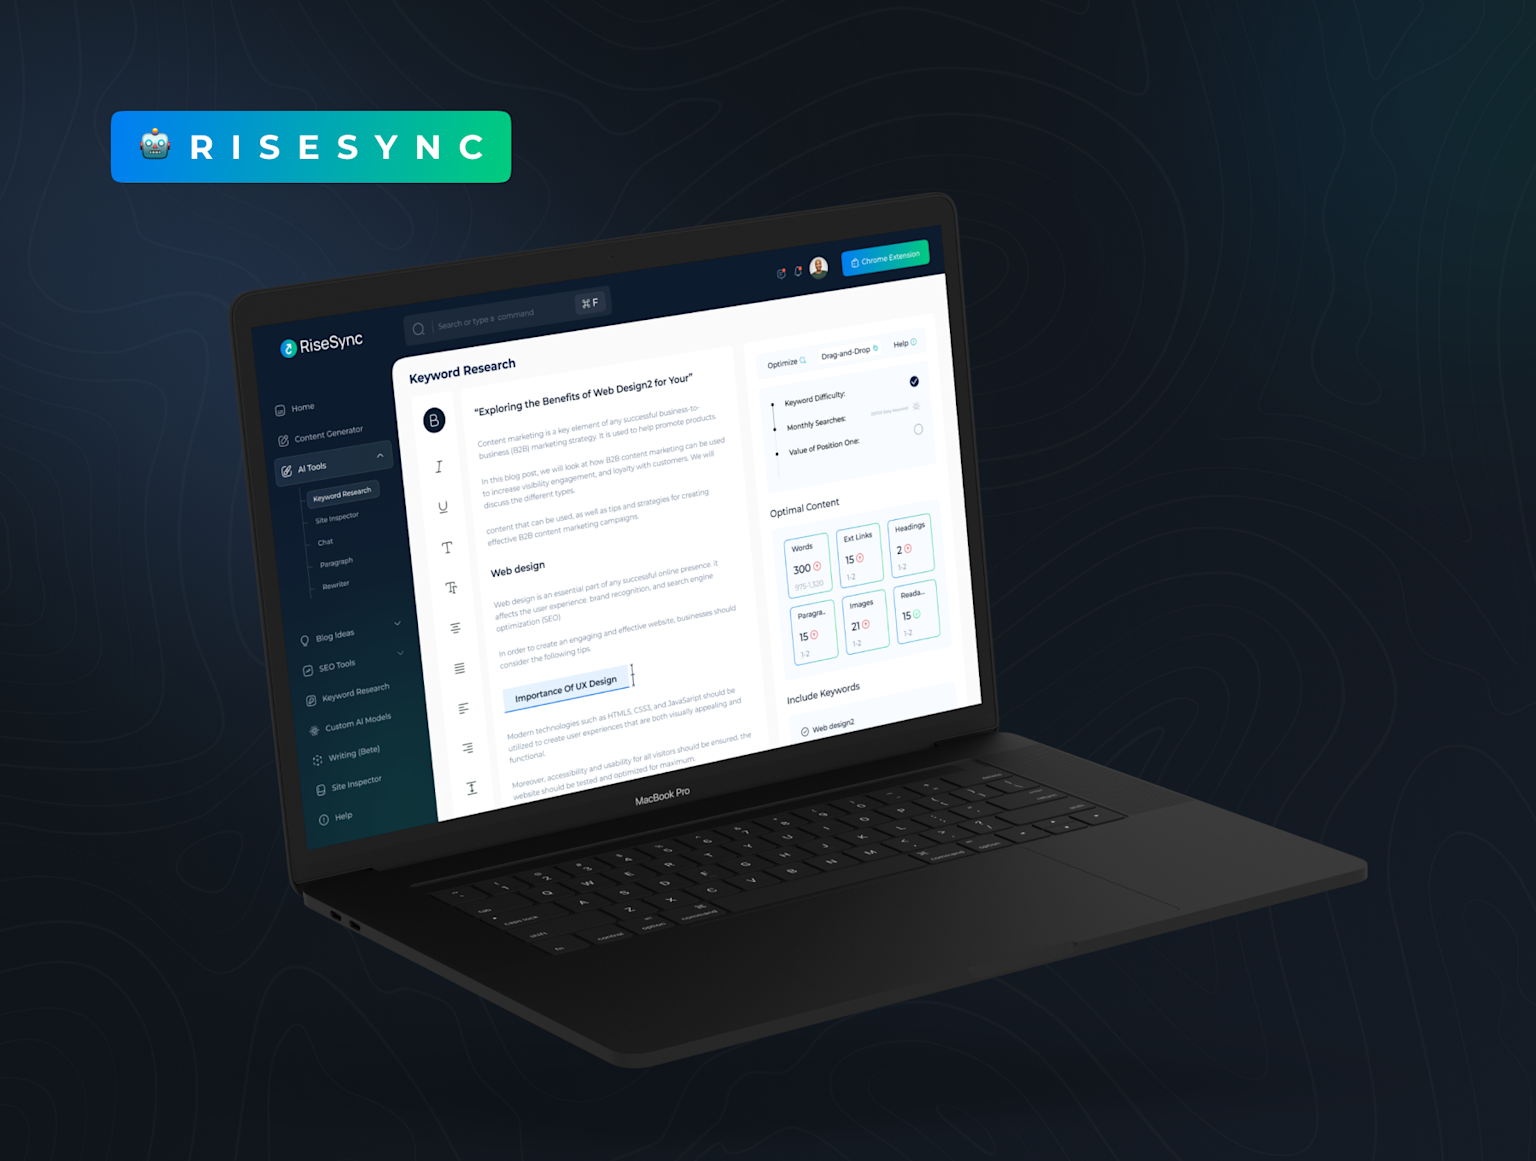
RiseSync AI writing tool dashboard shown on laptop, featuring keyword research and content optimization for SEO
The Top 10 AI Money-Making Opportunities for 2025
1. AI-Powered Content Writing Services
Earning Potential: $30-100+ per hour
Content writing remains one of the most accessible and profitable AI applications. Using tools like ChatGPT, Jasper, or Copy.ai, you can produce high-quality articles, blog posts, and marketing copy at unprecedented speed.
Getting Started:
- Master prompt engineering techniques
- Choose a profitable niche (SaaS, finance, health)
- Build a portfolio using AI-generated samples
- Join freelancing platforms like Upwork or Contently
Pro Tools:
- Grammarly: Advanced grammar and tone checking
- Jasper: Enterprise-level content generation
- Surfer SEO: AI-optimized content for search engines
2. Create and Sell AI-Generated Artwork
Earning Potential: $500-5,000+ per month
The AI art market is exploding, with platforms like Etsy seeing massive demand for AI-generated designs. From custom portraits to digital prints, the possibilities are endless.

Vibrant AI-generated digital artwork showcasing the creative potential of artificial intelligence in art and design
Revenue Streams:
- Custom AI portraits ($25-100 each)
- Stock image licensing
- Print-on-demand merchandise
- NFT collections
Essential Tools:
- Midjourney: Premium AI art generation
- DALL-E 3: Integrated with ChatGPT
- Canva AI: User-friendly design tools
3. AI Chatbot Development for Small Businesses
Earning Potential: $1,000-10,000 per project
Small businesses are hungry for customer service automation but lack technical know-how. You can fill this gap by creating custom chatbots using no-code platforms.

Mobile AI chatbot app interface showing user interaction and AI-generated responses about diverse topics
Target Markets:
Recommended Platforms:
- Chatfuel: Easy Facebook Messenger bots
- ManyChat: Multi-platform chatbot builder
- Dialogflow: Google’s enterprise solution
4. AI-Enhanced Social Media Management
Earning Potential: $2,000-8,000 per month per client
Social media management becomes exponentially more profitable when powered by AI. You can manage multiple clients simultaneously using automated content creation and scheduling tools.
Services to Offer:
- Automated content calendars
- AI-generated captions and hashtags
- Performance analytics and optimization
- Community management automation
Power Tools:
- Buffer: AI-assisted scheduling
- Hootsuite: Comprehensive social management
- Canva AI: Automated design creation
5. Launch an AI-Powered YouTube Channel
Earning Potential: $1,000-50,000+ per month
YouTube creators are earning six figures annually, and AI makes content creation dramatically easier. From script writing to thumbnail design, AI can handle most production tasks.

AI-generated surreal digital artwork showcasing a futuristic fantasy landscape with vibrant colors and abstract elements
Content Ideas That Work:
- AI tool tutorials and reviews
- Automated educational content
- AI-generated storytelling
- Tech news and analysis
Essential AI Tools:
- Synthesia: AI video generation with avatars
- Lumen5: Text-to-video conversion
- Murf: AI voiceover generation
6. Offer AI Automation Services to Businesses
Earning Potential: $5,000-20,000 per project
Businesses are drowning in repetitive tasks. By creating AI-powered automation workflows, you can save them thousands of hours while earning substantial fees.
High-Value Automations:
- Lead qualification and nurturing
- Invoice processing and accounting
- Customer support ticket routing
- Data entry and organization
Tools to Master:
- Zapier: Connect apps with AI triggers
- Make: Advanced automation workflows
- n8n: Open-source automation platform
7. Create AI-Generated Online Courses
Earning Potential: $10,000-100,000+ per course
The e-learning market will reach $375 billion by 2026, and AI makes course creation incredibly efficient. You can research topics, create content, and even generate quizzes automatically.
Profitable Course Topics:
- AI tools for businesses
- Personal productivity with AI
- AI writing and content creation
- Automation for entrepreneurs
Course Platforms:
- Teachable: User-friendly course builder
- Thinkific: Advanced marketing tools
- Udemy: Built-in audience
8. AI-Powered Freelance Photography Editing
Earning Potential: $25-75 per hour
Professional photo editing is time-consuming and expensive. AI tools can now handle complex editing tasks in seconds, allowing you to serve more clients profitably.
Services to Offer:
Professional Tools:
- Adobe Firefly: AI-integrated Photoshop
- Flair.ai: Product photography automation
- Aragon: AI headshot generation
9. Start an AI Newsletter or Blog
Earning Potential: $5,000-50,000+ per month
Information is valuable, and AI helps you create comprehensive, up-to-date content at scale. Monetize through subscriptions, sponsorships, and affiliate marketing.
Content Strategies:
- Weekly AI tool roundups
- Industry trend analysis
- Tutorial and how-to guides
- Product reviews and comparisons
Growth Tools:
- ConvertKit: Email marketing automation
- Ghost: Professional blogging platform
- Substack: Newsletter monetization
10. Develop AI-Powered Print-on-Demand Products
Earning Potential: $2,000-15,000+ per month
Print-on-demand combined with AI design tools creates a nearly hands-off business model. The global POD market is projected to reach $13.3 billion by 2027.
Winning Product Categories:
Platforms to Consider:
- Printful: High-quality printing
- Gooten: Global fulfillment network
- Printify: Extensive product catalog

Person working in a bright home office setup, ideal for using AI tools to make money online
Essential AI Tools for Making Money
Content Creation Powerhouse
- ChatGPT Plus ($20/month): The Swiss Army knife of AI
- Claude Pro ($20/month): Superior for long-form content
- Grammarly ($12/month): Professional writing assistant
Visual Content Creation
- Midjourney ($10/month): Premium AI art generation
- Canva Pro ($15/month): AI-enhanced design tools
- RunwayML ($12/month): AI video editing
Business Automation
- Zapier ($20/month): Connect apps and automate workflows
- Make ($9/month): Advanced automation workflows
- HubSpot (Free-$50/month): AI-powered CRM
Monetization Strategies That Actually Work
Start Small, Scale Fast
Don’t try to master every AI tool at once. Pick one income stream, become proficient, then expand your offerings.
Focus on High-Value Problems
Businesses pay premium prices for solutions that save time or increase revenue. Target pain points like customer service, content creation, and data analysis.
Build Your Personal Brand
Position yourself as an AI expert in your chosen niche. Share your knowledge on LinkedIn, Twitter, and industry forums to attract high-paying clients.
Create Recurring Revenue
One-time projects are good, but recurring revenue is better. Offer monthly retainers for ongoing AI services like content creation or social media management.
Common Mistakes to Avoid
Mistake #1: Trying to do everything
Focus on 1-2 income streams initially rather than spreading yourself thin.
Mistake #2: Underpricing your services
AI expertise is valuable. Price accordingly and don’t compete on cost alone.
Mistake #3: Ignoring the learning curve
Invest time in mastering your chosen AI tools. The difference between novice and expert usage is substantial.
Mistake #4: Not staying current
AI evolves rapidly. Set aside time weekly to learn about new tools and techniques.
Legal and Ethical Considerations
Intellectual Property
- Always disclose AI usage when required
- Understand copyright implications of AI-generated content
- Respect client confidentiality when using AI tools
Quality Control
- Never rely 100% on AI output
- Always review and edit AI-generated content
- Maintain professional standards despite automation
Getting Started: Your 30-Day Action Plan
Days 1-7: Foundation Building
- Choose your primary income stream
- Set up necessary AI tool accounts
- Create your workspace and systems
Days 8-14: Skill Development
- Complete tutorials for your chosen tools
- Practice with sample projects
- Join relevant online communities
Days 15-21: Portfolio Creation
- Generate 3-5 high-quality samples
- Build a simple website or portfolio
- Craft compelling service descriptions
Days 22-30: Client Acquisition
- Join freelancing platforms
- Reach out to potential clients
- Start with competitive pricing to build reviews
The Future of AI and Money-Making
The AI revolution is just beginning. As tools become more sophisticated and accessible, new opportunities will emerge constantly. The key to long-term success is developing AI literacy and staying adaptable.
Emerging Trends to Watch:
- AI-powered video creation becoming mainstream
- Voice AI opening new service categories
- No-code AI tools democratizing development
- Industry-specific AI solutions creating niche opportunities
Conclusion: Your AI-Powered Financial Future Starts Now
The opportunity to make money with AI has never been greater. With minimal investment and some dedicated learning, you can build multiple income streams that leverage artificial intelligence’s power.
The early movers are already claiming their territory in this new economy. Don’t wait for the market to become saturated—start building your AI-powered income today.
Remember: You don’t need to be a programmer or data scientist to profit from AI. You just need to be willing to learn, adapt, and take action.
Ready to start your AI money-making journey? Pick one strategy from this guide, invest in the necessary tools, and commit to consistent daily action. Your future self will thank you for taking the first step today.
ai-money-making-guide.md
Generated File
Want to stay updated on the latest AI money-making strategies? Subscribe to our newsletter for weekly tips, tool reviews, and success stories from AI entrepreneurs who are building profitable businesses right now.