Tag: Calendar

  • DIY 2025 Stacked Calendar Tutorial Using Cricut Joy Xtra

    DIY 2025 Stacked Calendar Tutorial Using Cricut Joy Xtra

    If you’re looking for a unique and functional craft to brighten up your desk or give as a gift, this DIY stacked calendar is perfect! With a pre-made design available in Cricut Design Space, creating this project is quick and easy. Each month is beautifully layered in a floral design, with both the calendar and backing cut and drawn by your Cricut Joy Xtra. Follow this step-by-step guide to bring your project to life.

    Materials Needed:

    • Cricut Joy Xtra (or other compatible Cricut machine)

    • Cardstock in your preferred colors

    • Cricut StandardGrip mat

    • Cricut Pen (fine-point for drawing)

    • Glue or double-sided adhesive

    • Optional: Ribbon, magnets, or a small stand for display

    Step-by-Step Instructions:

    Step 1: Access the Pre-Made Design

    1. Open Cricut Design Space on your device.

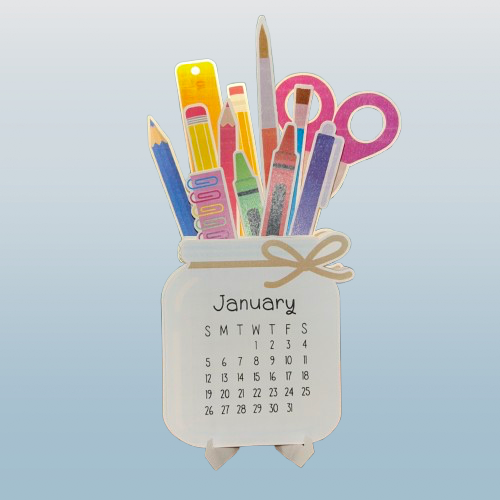
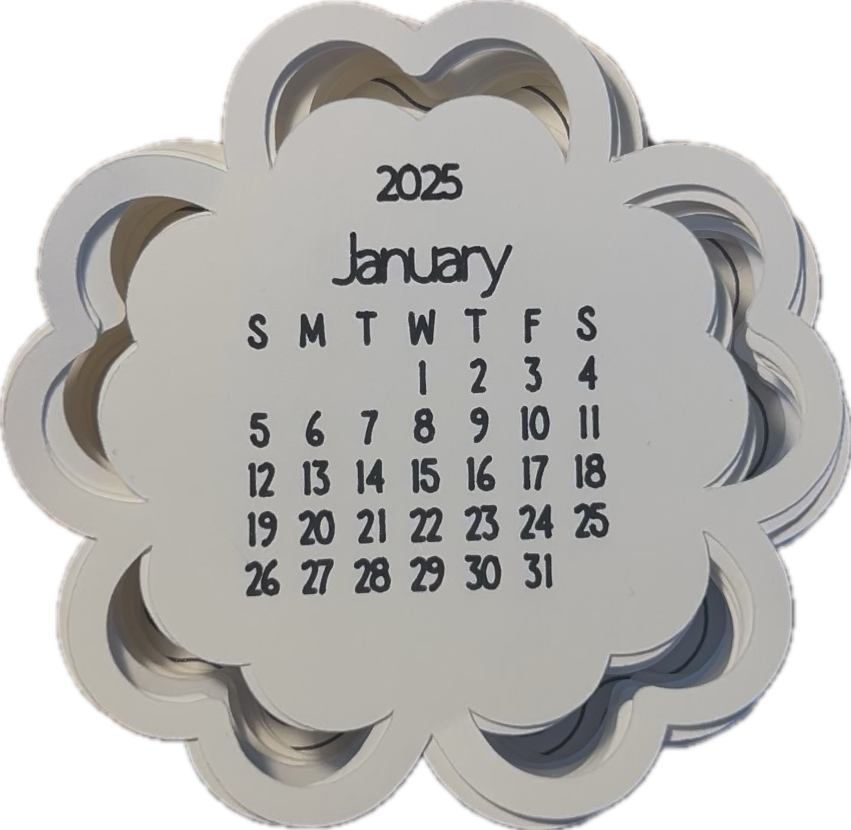
    2. Search for a stacked calendar template in the design library. Look for one featuring a floral or scalloped edge, similar to the style shown here.

    3. Customize the design if desired (e.g., change font styles or colors).

    Step 2: Load Your Cricut Mat

    1. Place a piece of cardstock onto your Cricut StandardGrip mat, ensuring it is securely adhered.

    2. Load the mat into your Cricut machine.

    Step 3: Cut and Draw

    1. The pre-made design will already include the drawing operation for the calendar dates and the cutting operation for the scalloped edges.

    2. Insert the Cricut Pen into the machine for drawing, then press “Go.”

    3. Once the machine finishes drawing, it will automatically switch to cutting. Repeat this process for all 12 months.

    Step 4: Create the Backing

    1. Cut an extra scalloped shape from a thicker piece of cardstock to use as the calendar backing.

    2. If desired, glue multiple layers together to add more stability.

    Step 5: Assemble the Calendar

    1. Stack the months in chronological order, starting with January on top and December on the bottom.

    2. Attach the stack to the backing using glue, a brad, or ribbon to make it easy to flip through the months.

    Step 6: Add Finishing Touches

    • Add embellishments like stickers, metallic accents, or ribbon to make your calendar stand out.

    • If gifting, consider adding a magnet or stand for easy display.

    Enjoy Your Calendar!

    Your 2025 stacked calendar is now ready to display or gift. Thanks to Cricut Design Space’s pre-made designs, creating this beautiful and functional project has never been easier.

    Share your finished projects with us—we’d love to see your creativity! Happy crafting!

  • How to Make a January Calendar with Cricut

    How to Make a January Calendar with Cricut

    Creating a custom calendar for the new year is a fun and practical project, especially with the help of your Cricut machine. In this guide, we’ll show you how to design and make a January calendar where the month and grid boxes are drawn by the Cricut, and the numbers are added by hand for a personal touch.

    Materials Needed:

    • Cricut Joy Xtra (or another Cricut machine)
    • Cricut Design Space app
    • Cricut-compatible pen (fine tip, your choice of color)
    • Cardstock or thick paper (12×12 or 8.5×11 inches, depending on your desired calendar size)
    • Ruler (optional for alignment)
    • Pencil or pen for hand-drawn numbers

    Step 1: Design Your Calendar

    1. Open Cricut Design Space: Start a new project.
    2. Create the Grid:
      • Use the “Shapes” tool to draw a rectangle for the overall calendar size.
      • Add smaller rectangles to represent the calendar boxes (7 columns for days of the week and 5 rows for weeks).
      • Align and distribute the rectangles evenly using the “Align” tool.
    3. Add the Month Title:
      • Use the text tool to type “January” at the top of your calendar.
      • Select a font that pairs well with your calendar’s style.
    4. Group and Attach:
      • Group all grid elements and the month title together.
      • Attach them to ensure they draw as one piece on your Cricut.

    Step 2: Prepare Your Cricut

    1. Select the Material: In Design Space, choose the material setting that matches your cardstock.
    2. Load the Pen: Insert the Cricut-compatible pen into your machine’s pen holder.
    3. Position the Cardstock: Place your cardstock onto the standard grip mat and ensure it’s smooth and aligned.

    Step 3: Draw the Calendar

    1. Load the Mat: Insert the mat into your Cricut machine.
    2. Start Drawing: Click “Go” in Design Space. The Cricut will draw the month title and grid boxes on your cardstock.
    3. Unload the Mat: Once completed, remove the mat and carefully peel off the cardstock.

    Step 4: Add the Numbers by Hand

    1. Mark the Days: Use a ruler or the drawn grid lines to guide you.
    2. Write the Numbers: With your preferred pen or pencil, handwrite the numbers 1–31 in the appropriate boxes. This adds a personalized and creative touch to your calendar.

    Step 5: Finishing Touches

    1. Decorate (Optional): Add stickers, stamps, or doodles to embellish your calendar.
    2. Display: Hang your calendar on the wall, pin it to a corkboard, or place it in a frame for a polished look.

    Tips for Success

    • Test your pen on a scrap piece of cardstock to ensure smooth writing.
    • Use light pencil marks to draft the numbers before committing to ink.
    • If using a smaller Cricut machine, adjust the calendar size to fit your mat.

    Creating a January calendar with Cricut is a great way to stay organized while expressing your creativity. Happy crafting!

  • Make a Calendar with Cricut

    Make a Calendar with Cricut

    Welcome to this step-by-step tutorial on creating a custom calendar with your Cricut! Whether you’re a beginner or a seasoned crafter, this project is perfect for adding a personal touch to your desk or gifting something unique. In this tutorial, I’ll walk you through everything you need, from preparing your design to assembling your final masterpiece. Let’s dive into it!

    What You’ll Need

    • Cricut machine
    • Cardstock
    • Cricut Design Space app
    • Additional tools like a weeder or scraper
    • Printer

    Step-by-Step Guide

    1. Prepare Your Design

    Open Cricut Design Space and select or customize your design. Choose a pattern or text suitable for the project. I used https://design-beta.cricut.com/landing/project-detail/66b57aa9e75bc5edb00d3147 by Vanessa from DIY Craft Tutorials.

    2. Print the Paper

    Follow the prompts in Design Space and print the design.

    3. Cutting the Design

    The Cricut will scan and cut the paper according to the marks on the paper.

    4. Assemble the Project

    Fold the stand, and place the months in order. Use the video for further instructions.

    And there you have it—your custom Cricut calendar, ready to showcase all year long! This project is a fantastic way to combine creativity and functionality, and I hope you had as much fun making it as I did sharing the process with you. Don’t forget to share your creations in the comments or tag me on social media. Until next time, happy crafting!