Tag: iron-on

  • Make a 2025 T-Shirt with Cricut

    Make a 2025 T-Shirt with Cricut

    Ready to start 2025 in style? Whether you’re celebrating the new year or creating something unique, making a personalized shirt with your Cricut is a fun and creative way to show off your design skills. In this guide, we’ll walk you through the process step-by-step, from setting up your design to transferring it flawlessly onto your shirt. Let’s make something amazing!

    What You’ll Need

    • Cricut machine
    • HTV Iron-On
    • Cricut Design Space app
    • Additional tools like a weeder or scraper

    Step-by-Step Guide

    1. Prepare Your Design

    Open Cricut Design Space and select or customize your design. Choose a pattern or text suitable for the project.

    2. Cut the Design

    Follow the prompts in Design Space and cut the design.

    3. Heat the Shirt

    Use the Circut Heat to find the ideal setting for your material.

    4. Peel the Plastic

    Wait for the design to cool, then peel slowly.

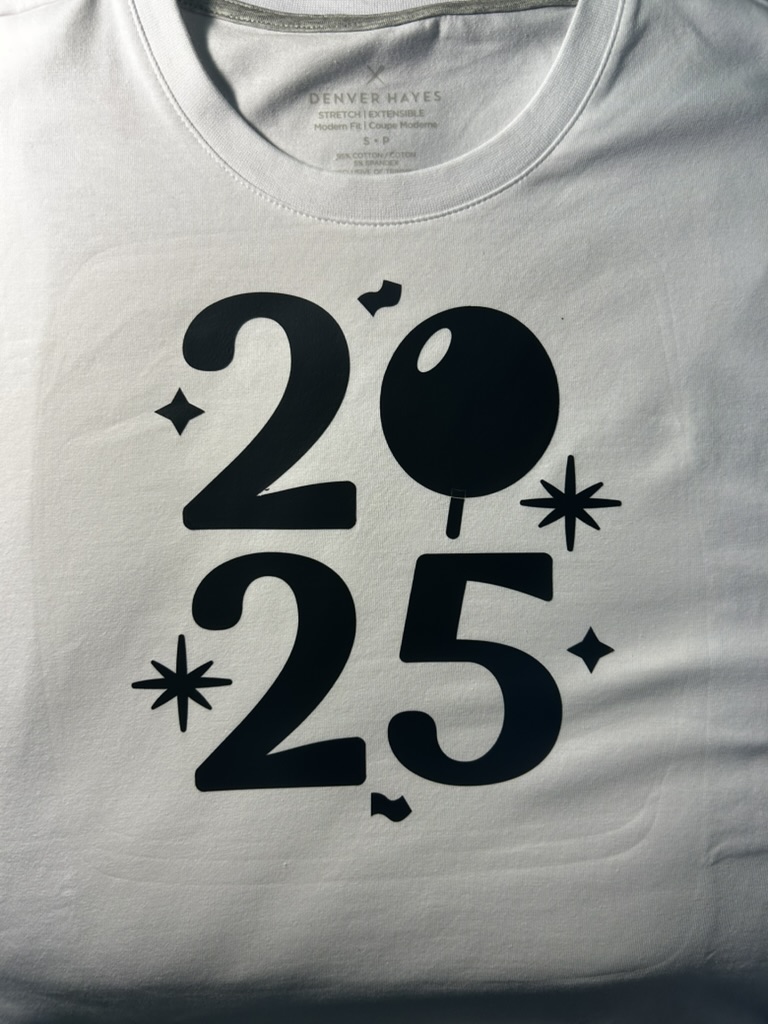
    And there you have it—your very own custom 2025 shirt! With just a few tools, a Cricut machine, and a bit of creativity, you can craft wearable art that’s uniquely yours. Don’t forget to share your creations with friends and family, or even start on your next Cricut project. Happy crafting! 🎉

  • Custom Canvas with Cricut

    Watch my YouTube video, or use the steps below for an in-depth guide.

    Discover how easy it is to create stunning projects with the Cricut Joy Xtra! In this quick tutorial, we’ll guide you through a simple yet impressive design that can be completed in under a minute. Perfect for beginners and experienced crafters alike, this project showcases the versatility of Cricut’s compact yet powerful machine.

    What You’ll Need

    • Cricut machine

    • Iron-on (I used Cricut Smart Iron-On)

    • Cricut Design Space app

    • Additional tools like a weeder or scraper

    Step-by-Step Guide

    1. Prepare Your Design

    Open Cricut Design Space and select or customize your design. Choose a pattern or text suitable for the project.

    2. Load Your Materials

    Insert your material into the Cricut Joy Xtra, ensuring it’s aligned properly. Use a mat if required.

    3. Cutting the Design

    Let the Cricut work its magic. Within moments, your design will be precision-cut, ready for assembly.

    4. Assemble the Project

    Use transfer tape, adhesive, or other tools to complete your project as demonstrated in the video.

    In just under a minute, you’ve created something truly unique and beautiful. Cricut Joy Xtra is an amazing tool for quick projects that don’t skimp on quality. Stay tuned for more tutorials and creative ideas!