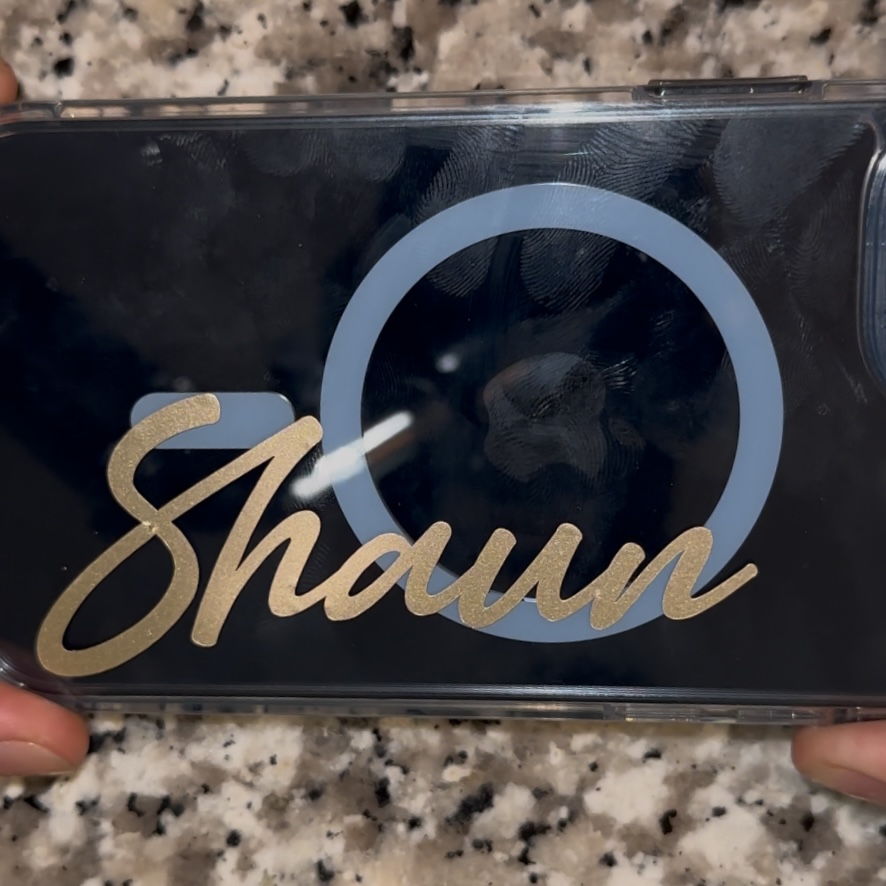
Want to give your phone case a unique and personal touch? With a Cricut machine, you can easily create a custom design that reflects your style. Whether you prefer bold patterns, cute illustrations, or inspirational quotes, this step-by-step guide will show you how to customize your phone case using vinyl.
Supplies Needed
• Cricut machine (Cricut Joy Xtra, Explore, or Maker)
• Cricut Design Space
• Permanent adhesive vinyl
• StandardGrip cutting mat
• Weeding tool
• Transfer tape
• Clear or solid phone case
• Scraper tool
Step 1: Create Your Design
Open Cricut Design Space and either create a custom design or choose a pre-made one. Adjust the size to fit your phone case.
Step 2: Cut the Vinyl
Place the vinyl on the StandardGrip cutting mat and load it into your Cricut machine. Follow the on-screen instructions to cut your design.
Step 3: Apply the Vinyl
Weed out any excess vinyl using a weeding tool. Then, place transfer tape over the design and use a scraper to press it down firmly. Carefully peel off the backing and apply the design to your phone case, smoothing out any bubbles.
Conclusion
That’s it! You now have a custom phone case that’s stylish and uniquely yours. Experiment with different colors and patterns to match your mood or outfit. Enjoy your one-of-a-kind creation!
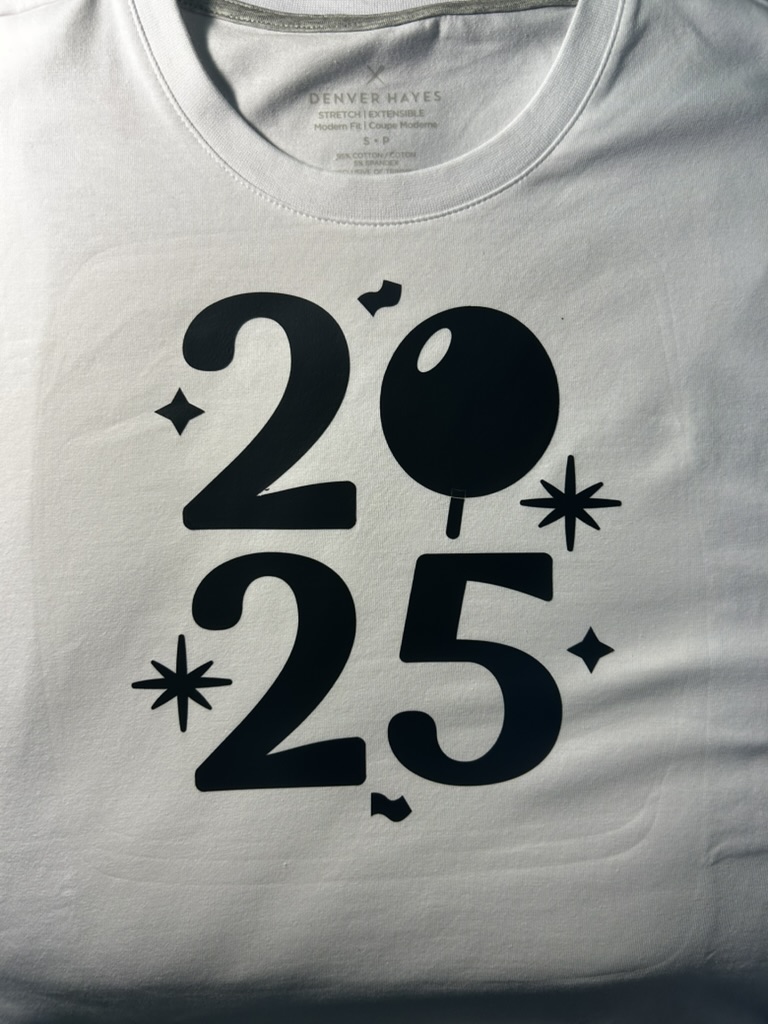
Ready to start 2025 in style? Whether you’re celebrating the new year or creating something unique, making a personalized shirt with your Cricut is a fun and creative way to show off your design skills. In this guide, we’ll walk you through the process step-by-step, from setting up your design to transferring it flawlessly onto your shirt. Let’s make something amazing!
What You’ll Need
Cricut machine
HTV Iron-On
Cricut Design Space app
Additional tools like a weeder or scraper
Step-by-Step Guide
1. Prepare Your Design
Open Cricut Design Space and select or customize your design. Choose a pattern or text suitable for the project.
2. Cut the Design
Follow the prompts in Design Space and cut the design.
3. Heat the Shirt
Use the Circut Heat to find the ideal setting for your material.
4. Peel the Plastic
Wait for the design to cool, then peel slowly.
And there you have it—your very own custom 2025 shirt! With just a few tools, a Cricut machine, and a bit of creativity, you can craft wearable art that’s uniquely yours. Don’t forget to share your creations with friends and family, or even start on your next Cricut project. Happy crafting! 🎉
Looking to add a personal touch to your glassware? Glass etching is a fun and easy way to customize mugs, wine glasses, or any glass surface with your own designs! Whether you want to create a funny gift, a stylish décor piece, or something uniquely yours, this guide will walk you through the process using etching cream and a Cricut machine.
With just a few supplies and some creativity, you’ll have a stunning etched mug that looks professionally made. Let’s dive in and transform plain glass into something extraordinary!
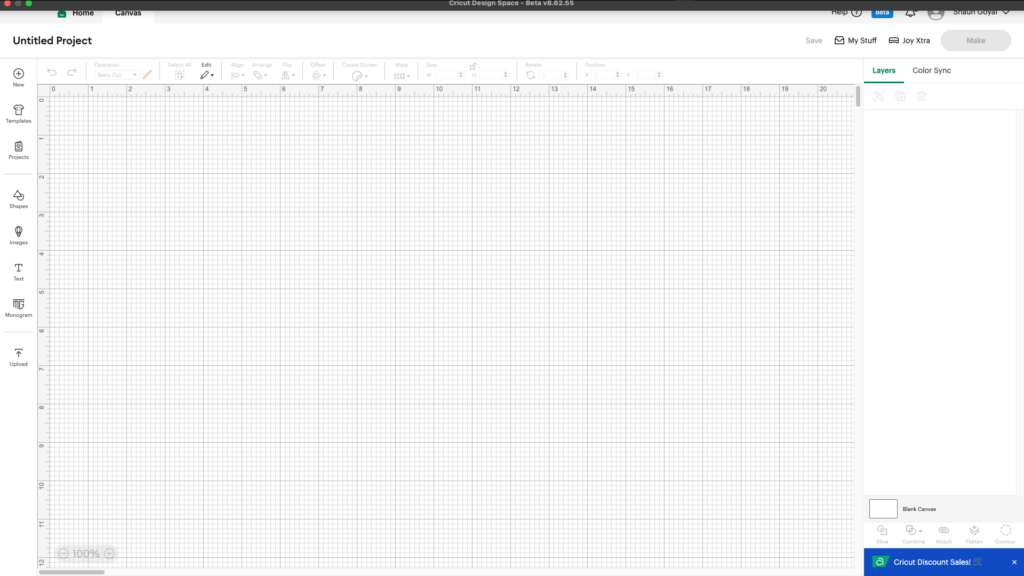
Open Cricut Design Space on your computer or mobile device. I recommend to use a computer for the best experience.
After, click on “Canvas”.
Canvas tab on Cricut Design Space on MacOS
Use the icons on the left to create your design. Get creative by adding things such as shapes, images, and text.
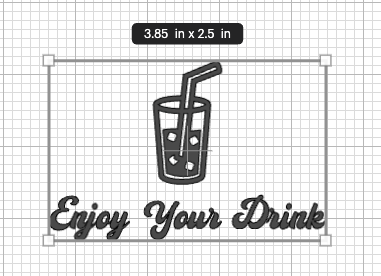
Measure your glass and select your icons, make sure they are an appropriate size.
Attach your items so they cut together.
Step 2 – Cut Your Design
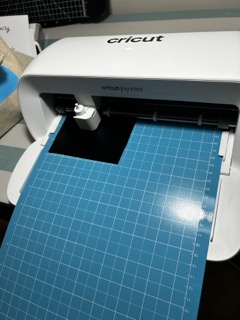
Tap “Make” and follow the steps on the screen. Make sure to use any type of removable vinyl. This is your stencil that will be removed after etching.
My Cricut Joy Xtra cutting the stencil
After, remove your stencil, and weed out the negative pieces.
My stencil after weeding
Step 3 – Apply the Stencil
Stick the transfer tape to your vinyl. Use the scraper tool and press hard to ensure the design adheres. After, peel the design off the vinyl backing.
My stencil on the transfer tape
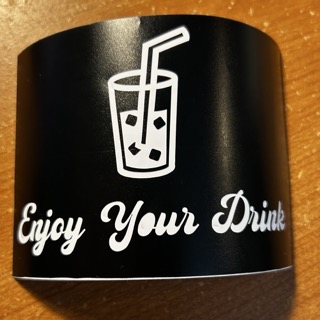
Carefully adhere the vinyl to the glass. Slowly peel off the transfer tape.
My stencil on the glass
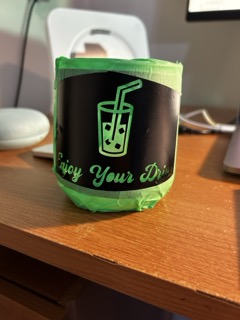
Apply painter’s tape around the vinyl to make sure the cream doesn’t leave unwanted marks.
The glass with my stencil and painter’s tape
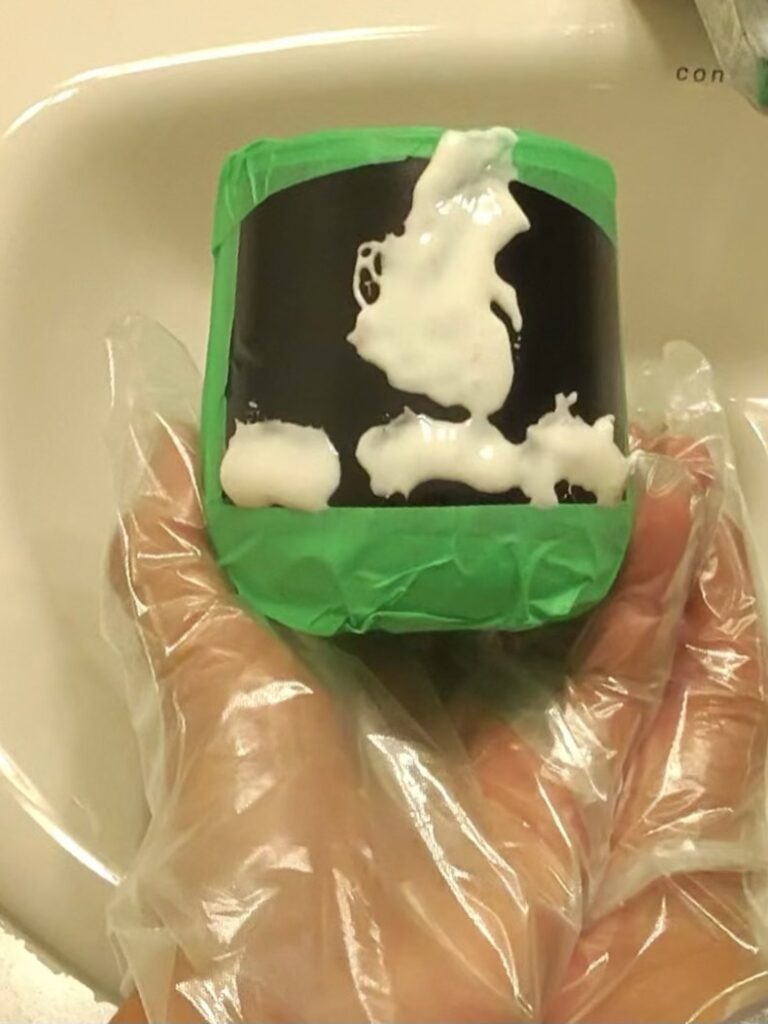
Step 4 – Apply the Cream
Follow the instructions for your etching cream. Make sure to wear gloves and do not touch the cream with your skin. For Armour Etch, apply a thick layer for 1-3 minutes.
My glass with the etching cream on
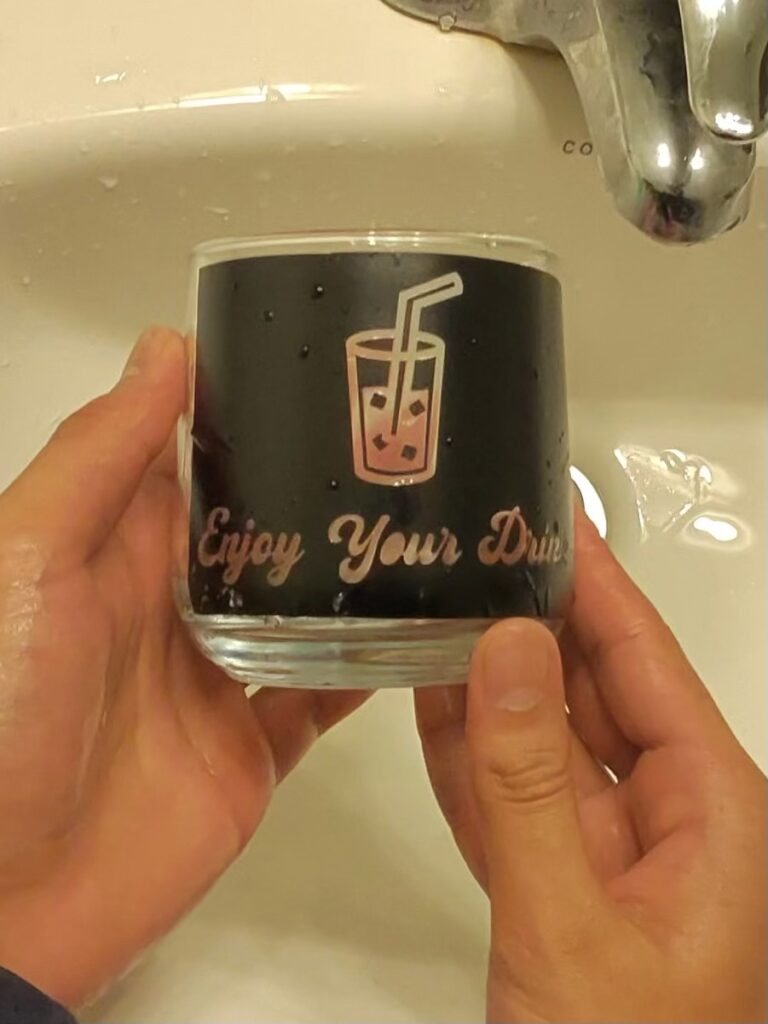
After the time is up, rinse the cream off and remove the vinyl and painter’s tape.
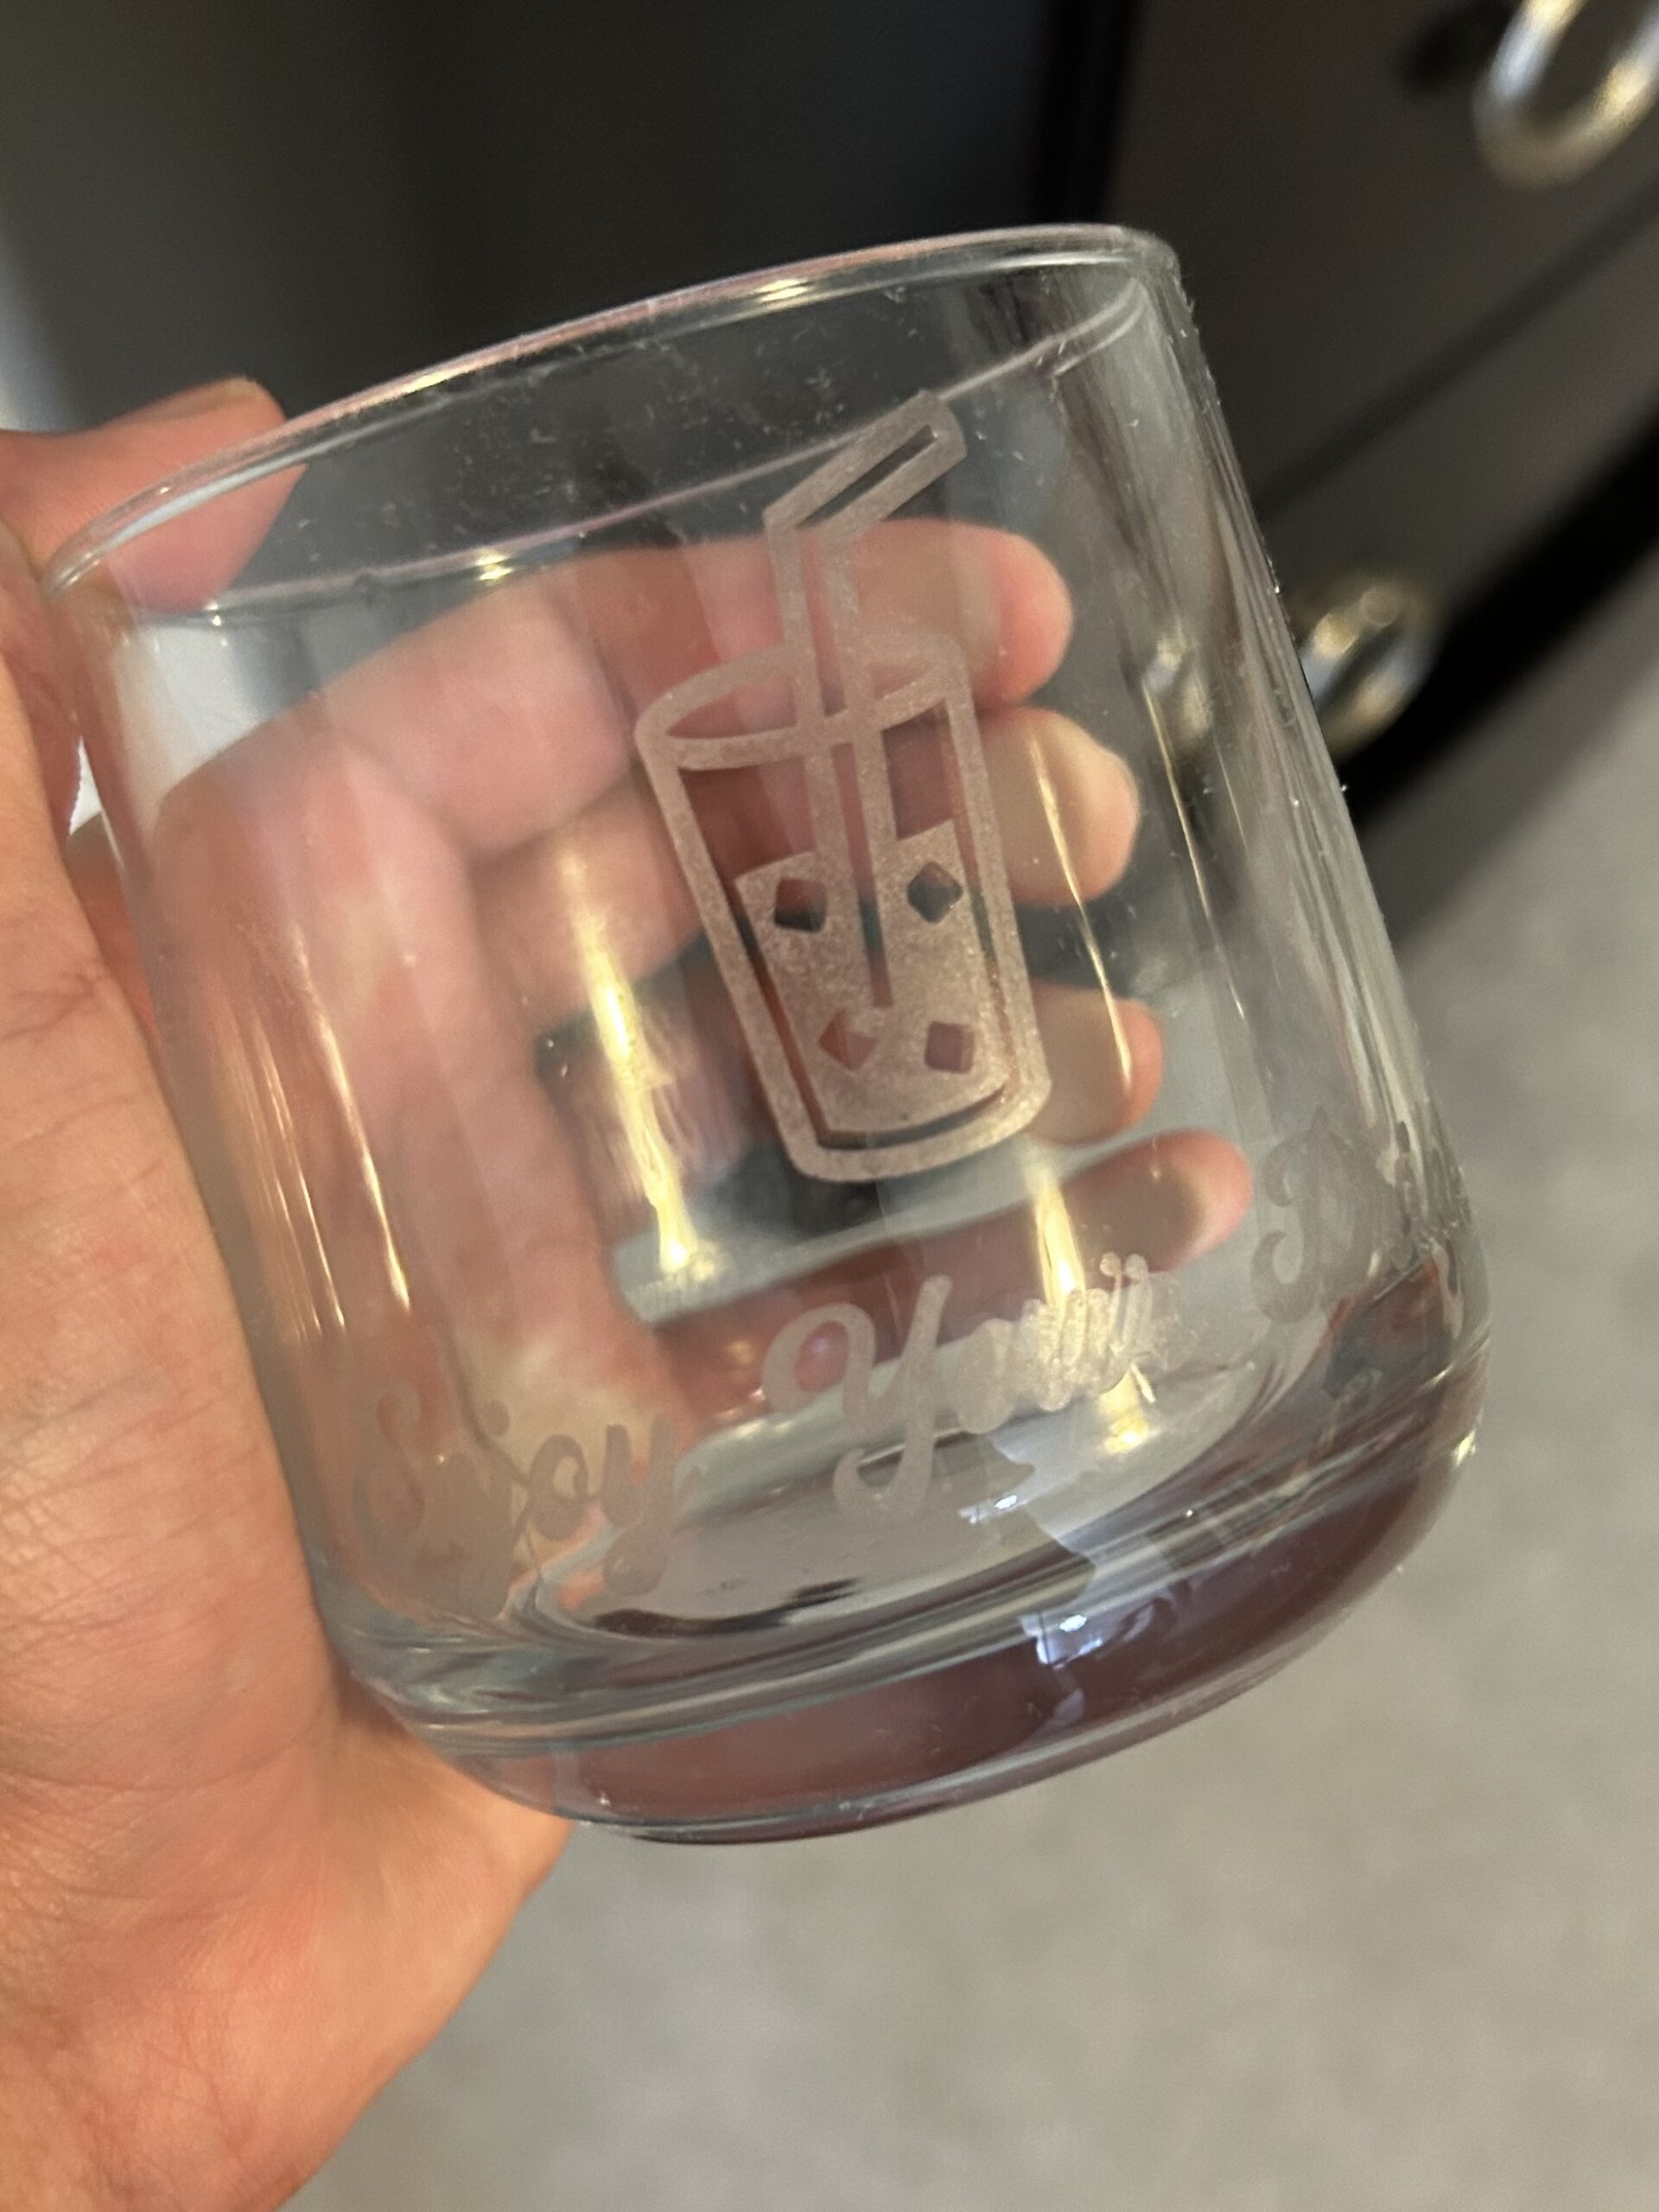
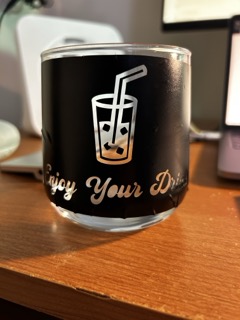
My glass without the painter’s tapeThe finished result
Conclusion
Etching glass with your Cricut and etching cream is a rewarding and creative way to personalize your glassware. With just a few simple tools and a bit of creativity, you can create custom mugs, wine glasses, and more—perfect for gifts or home décor. By following the steps outlined in this guide, you’ll be able to design and etch your own unique pieces, adding a personal touch to any occasion. Whether you’re a beginner or an experienced crafter, the process is straightforward and fun. Happy etching!